Failure analysis is of utmost importance in many industrial applications, such as semiconductor, packaging, transportation, manufacturing and biomedical devices. Knowing how and why a material failed is essential to ensuring a product’s reliability, to identifying the root cause of failure and to implementing ways to alleviating and/or preventing parts from failure, and to paving the way of improving performance of materials and designs. A dependable design against failure requires thorough understanding on the failure mechanisms and knowledge in structural engineering, mechanical engineering, and materials science and engineering. There are many ways and steps to conducting failure analysis. Among them Scanning Electron Microscopy (SEM) is one of the most powerful tools in failure analysis. By revealing the information about the microstructure at the fracture surface, one can derive lots of information about the failure mechanisms.
Typical Experimental Results
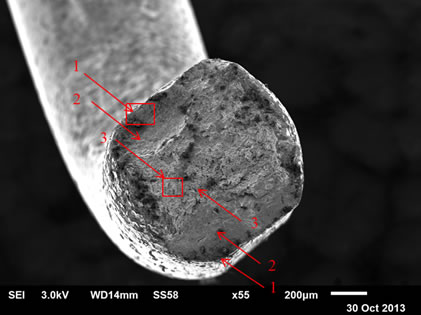
SEM image of fractured steel wire showing the typical three stages of fatigue failure as marked with arrows
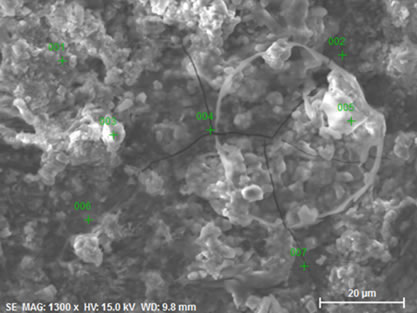
Micrograph image of corroded penny with characteristics of severe metal corrosion: uneven, porous and powdery microstructure, and cracks on the surface caused by corrosion stresses
Applications
Alloys and Metals | Ceramics | Chemical Etching | Cleaning Problems | Contamination and Stain Investigation |
Corrosion Analysis | Cross-section Analysis | Foreign Material Identification | Forensic Analysis | Fractography |
Fracture Characterization | Glasses | Grains and Grain Boundaries | IC Failure Analysis | Medical Devices |
Metallographic Analysis | Nano Materials | Plastic Deformation | Plastics and Polymers | Scratch and Scuffing |
Thin Films and Coatings | Tribological Surfaces | Wear Mechanisms | Wear Surfaces | Welds |
For more information please read our application notes:
Fracture Failure Analysis of Steel Wire
SEM EDS Analysis on Scratch Failure of PTFE Coated Stainless Steel Guide Wire
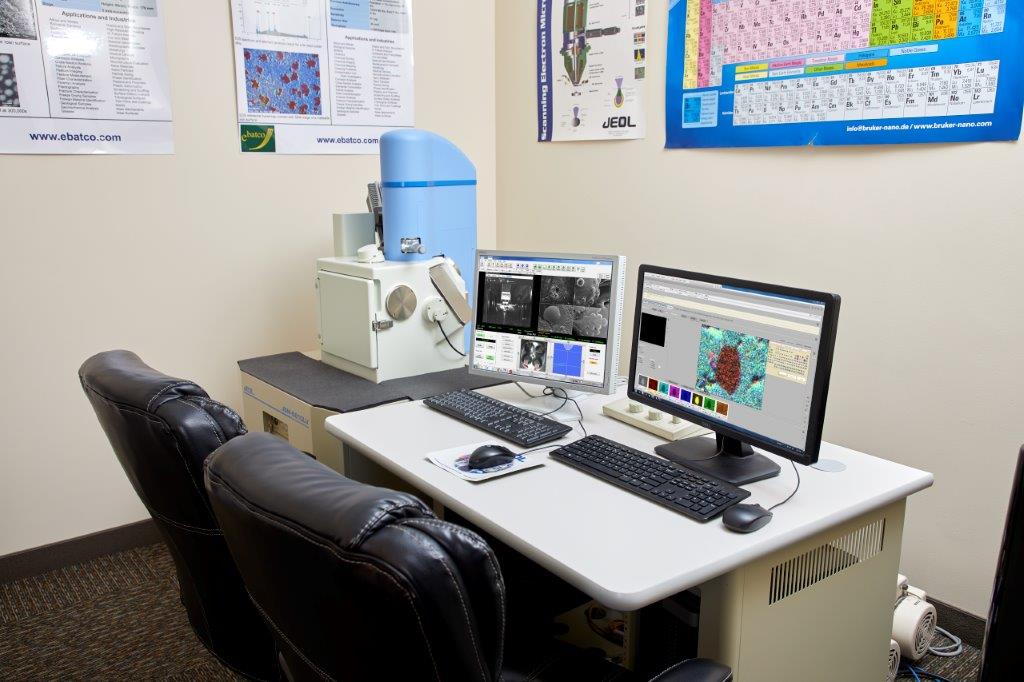
Instrument: JEOL 6610 LV Scanning Electron Microscope
Key Specifications
Filament
|
W hairpin filament
|
Resolution
|
High Vacuum: 3nm (30kV),
8nm (3kV), 15nm (1kV) Low Vacuum: 4 nm (30kV) |
Accelerating Voltage
|
300 V to 30 kV
|
Magnification
|
5x to 300,000x
|
LV Detector
|
Multi-segment BSED
|
LV Pressure
|
10 to 270 Pa
|
Sample Sizes
|
Height: 80mm; Width: 178 mm
|
Stage
|
Eucentric 5 axis motor control, asynchronous movement, x-y: 125mm-110mm, z: 5mm-8mm, tilt:-10 to 90 degrees, rotation: 360 degrees
|
Resolution
|
5120 x 3840 pixels
|
Condenser Lens
|
Zoom condenser lens
|
Objective Lens
|
Conical objective lens
|
Other Techniques and Instruments for Failure Analysis
Chemical Analysis: Energy Dispersive X-Ray Spectrometer
Liquids: Density Meter, Dynamic Surface Tensiometer, Refractive Index Meter, Surface Tensiometer, Viscometer
Mechanical: Microscratch Tester, Micro Vickers Hardness Tester, Nanoindenter, Tribometer
Metallurgy: Micro Vickers Hardness Tester, Optical Microscope
Particle Identification and Sizing: Particle Size Analyzer, Particle Zeta Potential Analyzer, Centrifuge
Surface Contamination: Contact Angle Meter
Surface Topography: Optical Microscope, SPM
Thermal Analysis: DSC, DMA, STA, TGA, TMA
Tribological: Microscratch Tester, Nanoindenter, Tribometer